First Aid Explained
Disclaimer:
This website is intended to assist with patient education and should not be used as a diagnostic, treatment or prescription service, forum or platform. Always consult your own healthcare practitioner for a more personalised and detailed opinion
How to Do CPR on an Adult
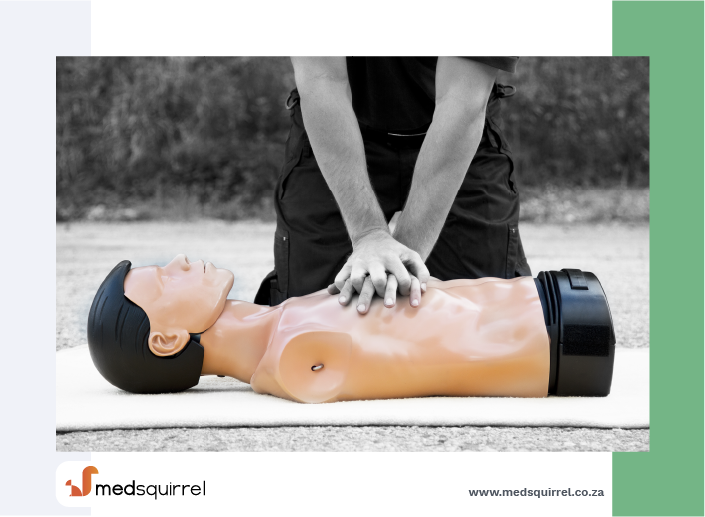
We have selected the following expert medical opinion based on its clarity, reliability and accuracy. Credits: Sourced from the website wikiHow. Please refer to your own medical practitioner for a final perspective, assessment or evaluation.
Overview
Knowing how to perform both methods of CPR (cardiopulmonary resuscitation) on an adult could save a life. However, the recommended method for performing CPR has changed relatively recently, and it is important to know the difference. In 2010, the American Heart Association made a radical change to the recommended CPR process for victims of cardiac arrest after studies showed that compression-only CPR (no mouth-to-mouth breathing) is as effective as the traditional approach.
Part 1: Taking Vitals
1. Check the scene for immediate danger
- If there is anything that could endanger you or the victim, see whether there is something you can do to counteract it. Open a window, turn off the stove, or put out the fire, if possible.
- However, if there is nothing you can do to counteract the danger, move the victim. The best way to move the victim is by placing a blanket or coat underneath their back and dragging it.
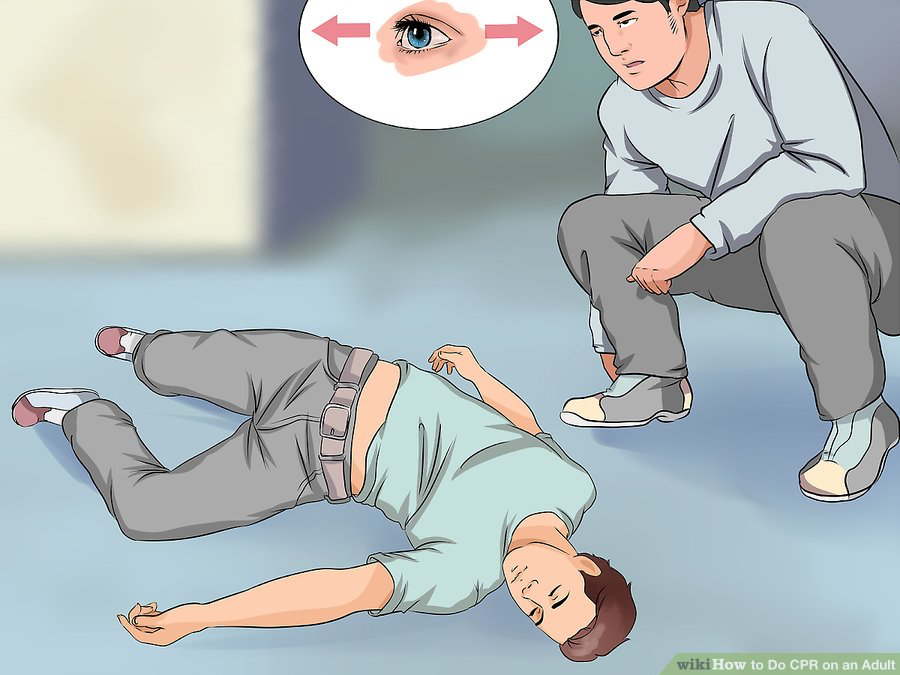
2. Assess the victim's consciousness
Gently tap his or her shoulder and ask "Are you OK?" in a loud, clear voice. If he or she responds agreement "Yeah" or such, CPR is not required. Instead, undertake basic first aid and take measures to prevent or treat shock, and assess whether you need to contact emergency services.
- If the victim does not respond, continue with the following steps.
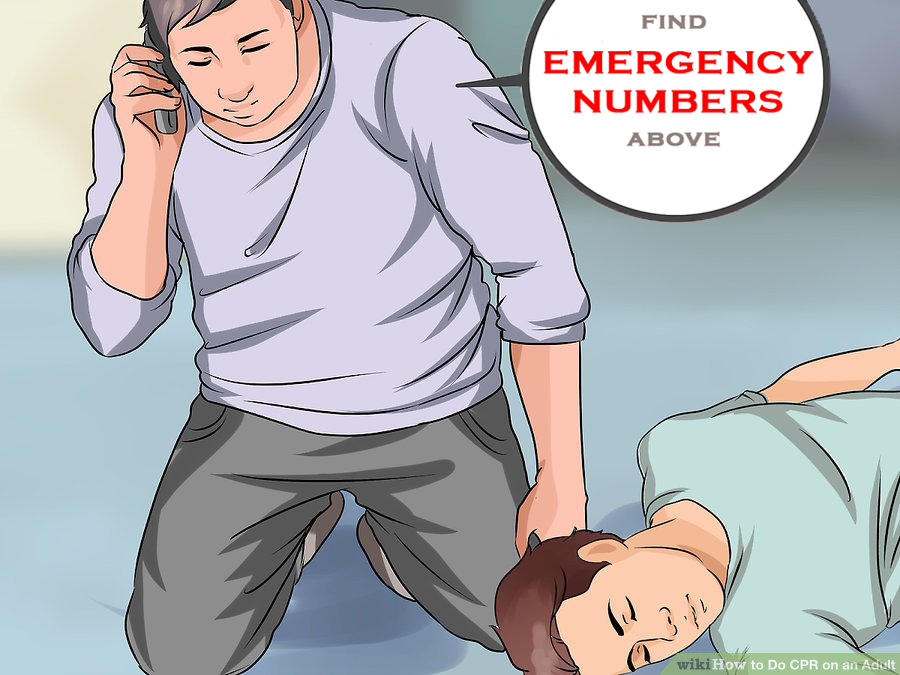
3. Send for help (See "EMERGENCY NUMBERS" above)
The more people available for this step, the better. However, it can be done alone. Send someone to call for emergency medical services (EMS).
- To contact emergency services, call 10177 for an AMBULANCE (See "EMERGENCY NUMBERS" above).
- Give the dispatcher your location, and notify him or her that you're going to perform CPR. If you're alone, put your phone on speaker mode so your hands are free to start compressions. If you have someone else with you, have him or her stay on the line while you do CPR on the victim.
4. Do not check for a pulse
Unless you're a trained medical professional, odds are you'll spend too much valuable time looking for a pulse when you should be doing compressions.
5. Check for breathing
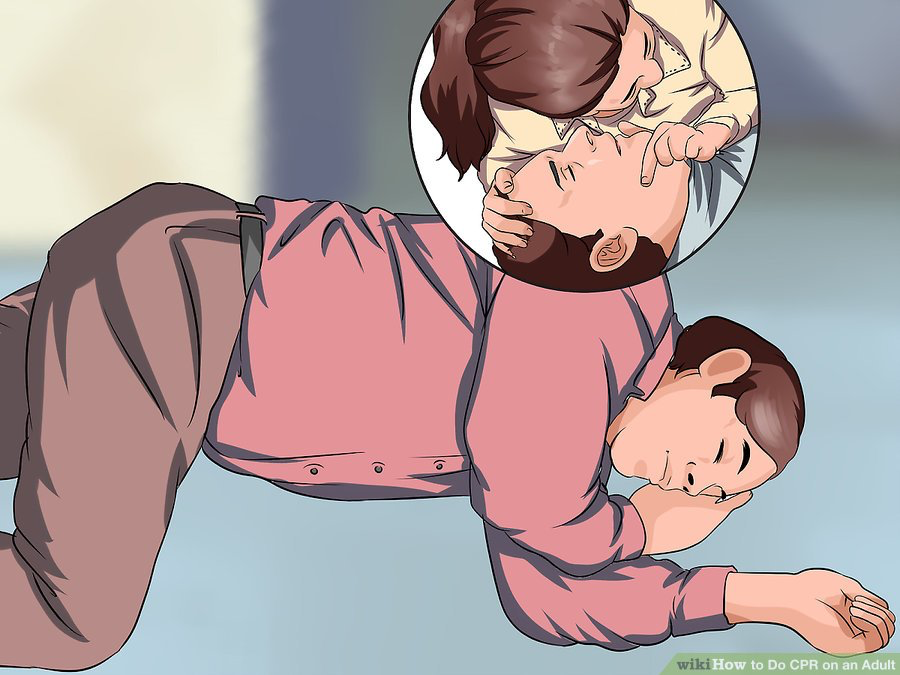
And, make sure that the airway is not blocked. If the mouth is closed, press with your thumb and forefinger on both cheeks at the back of the teeth to help open the mouth and then look inside. Remove any visible obstacle that is in your reach but never push your fingers too far inside. Put your ear close to the victim's nose and mouth, and listen for slight breathing. Watch for rising and falling of the chest.
Part 2: Administering CPR
1. Place the victim on his or her back
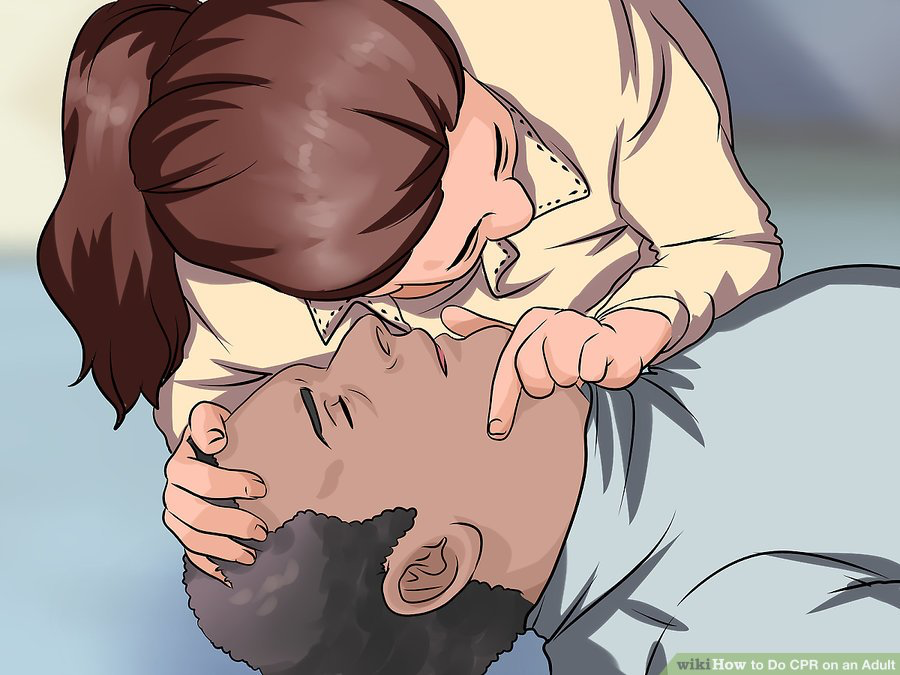
Make sure he or she is lying as flat as possible - this is to prevent injury while you're doing chest compressions.Tilt their head back by using your palm against their forehead and a push against their chin.
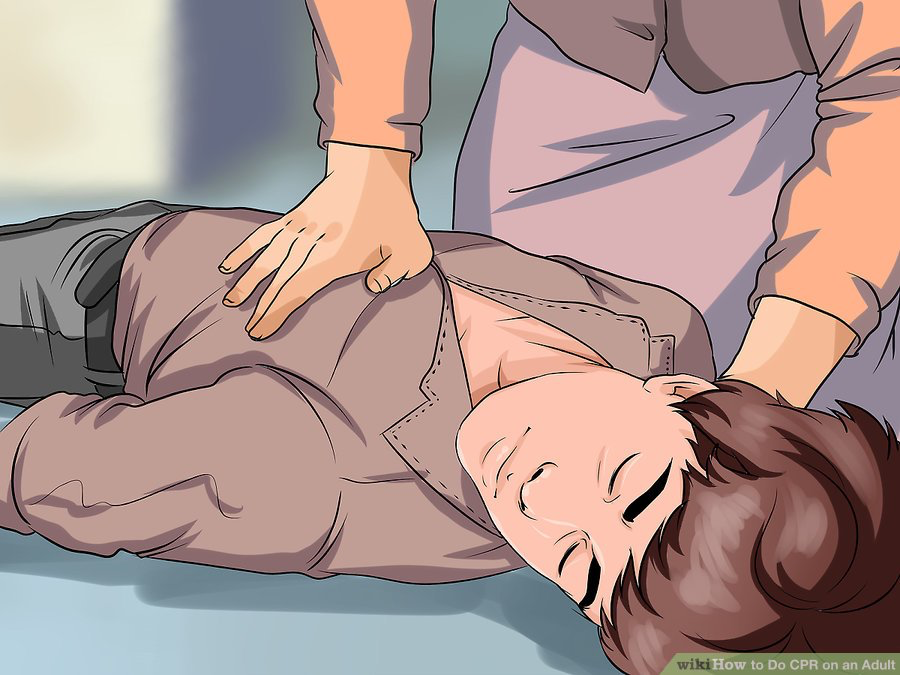
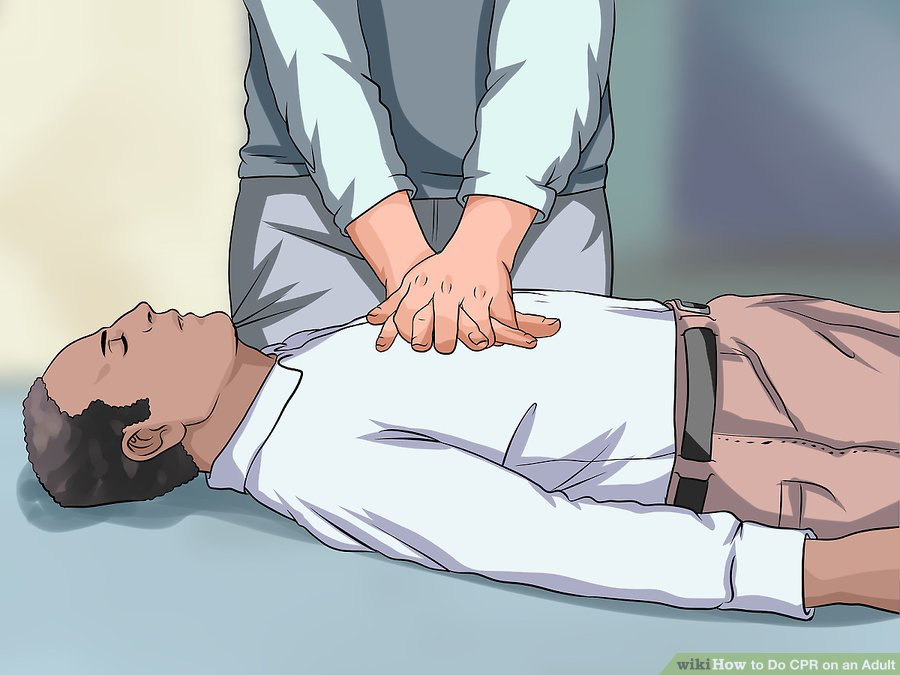
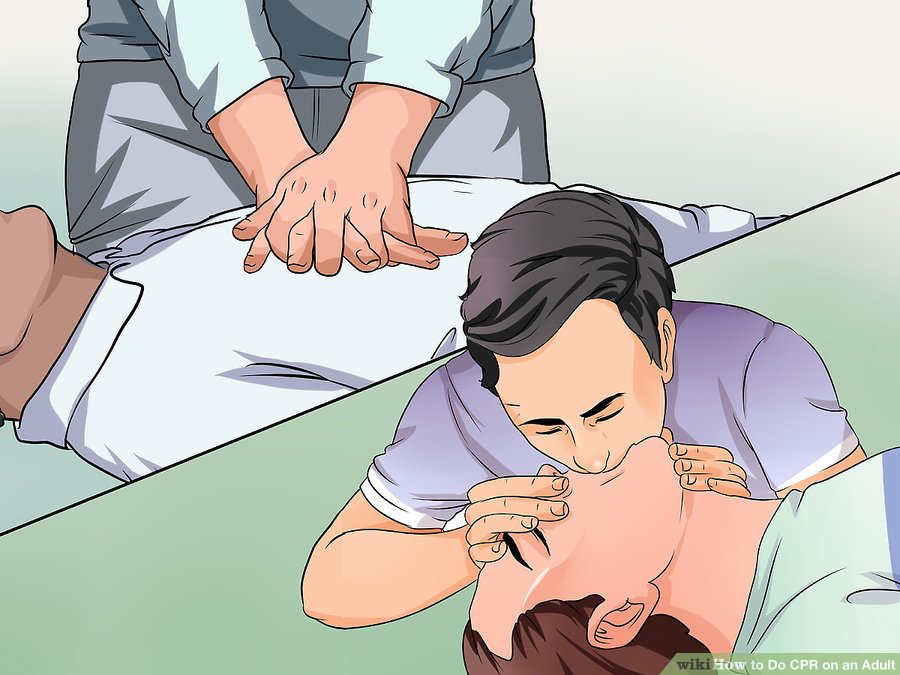
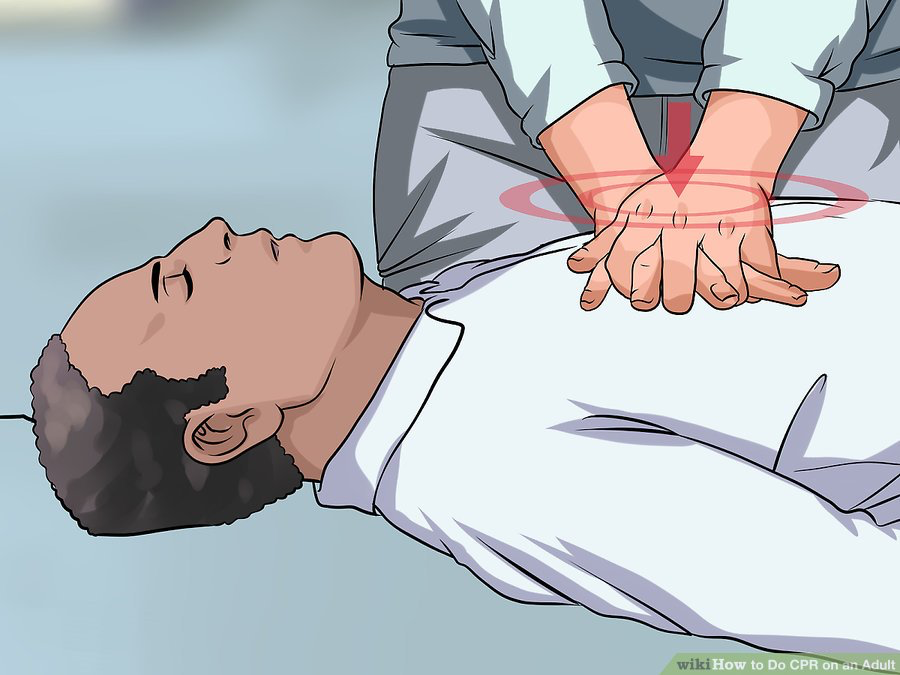
2. Place the heel of one hand on the victim's breastbone, 2 finger-widths above the meeting area of the lower ribs, exactly between the normal position of the nipples
3. Place your second hand on top of the first hand, palms-down, interlock the fingers of the second hand between the first
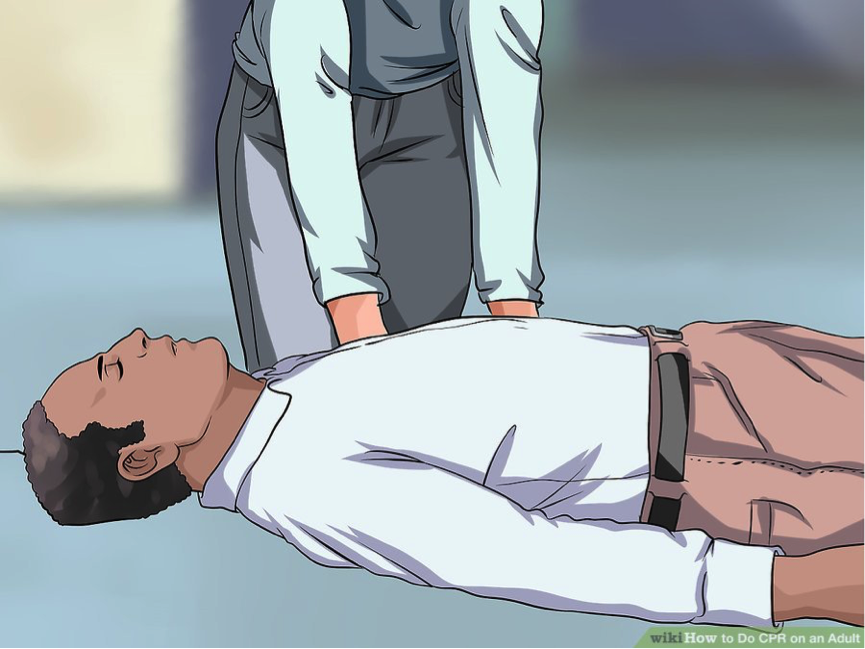
4. Position your body directly over your hands, so that your arms are straight and somewhat rigid
5. Perform 30 chest compressions
- You should press down by about 2 inches (5 cm).
- Do the compressions in a relatively fast rhythm. Some agencies recommend doing compressions to the beat of the chorus of "Stayin' Alive," a 1970s disco hit, or at roughly 100 beats per minute.
Part 3: Continuing the Process Until Help Arrives
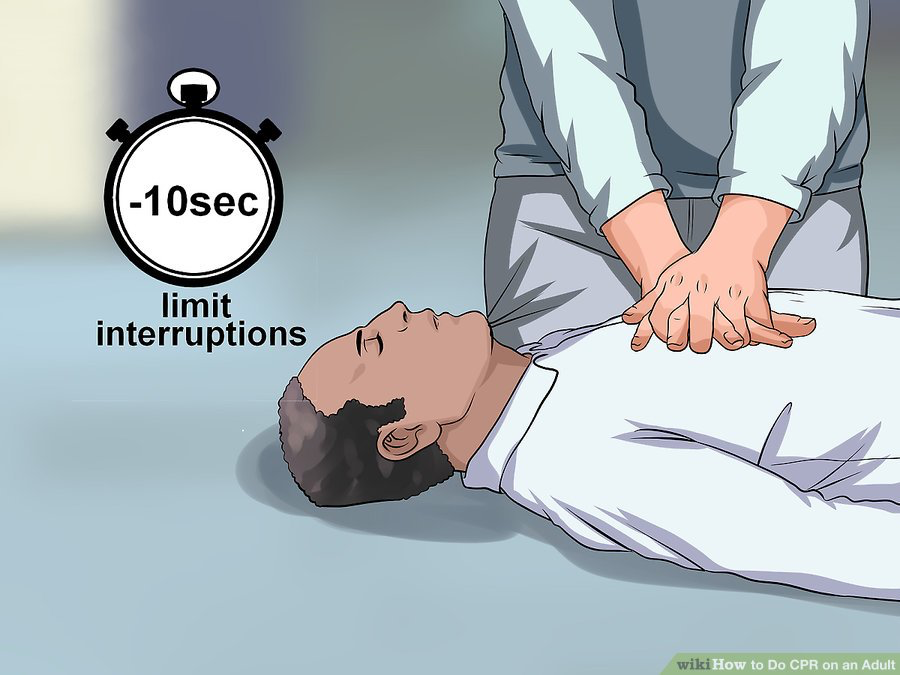
1. Minimize pauses in chest compression that occur when changing providers or preparing for a shock
2. Make sure the airway is open
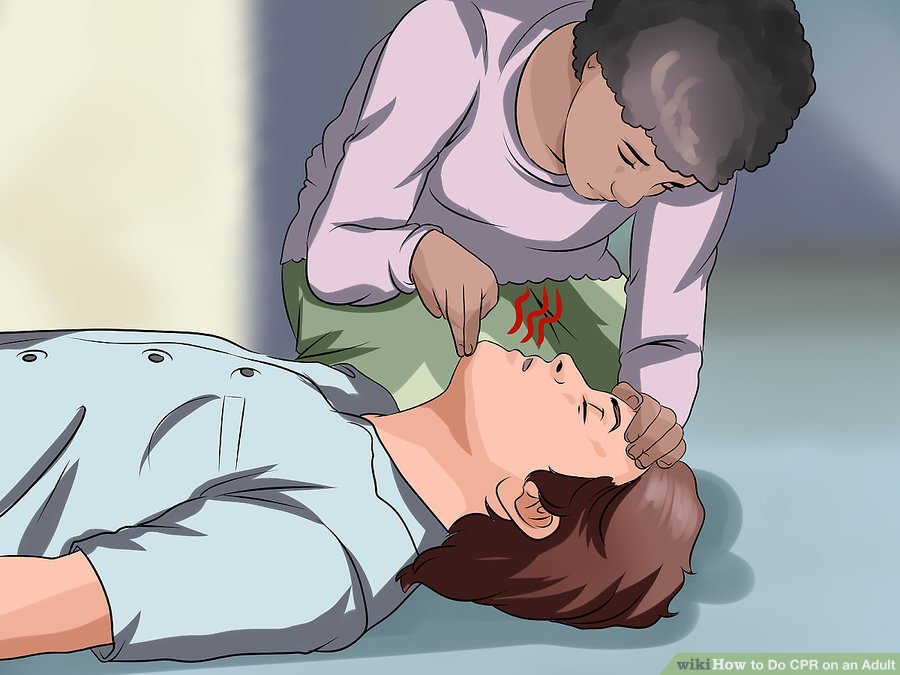
Place your hand on the victim's forehead and two fingers on their chin and tilt the head back to open the airway.
- If you suspect a neck injury, pull the jaw forward rather than lifting the chin. If jaw thrust fails to open the airway, do a careful head tilt and chin lift.
- If there are no signs of life, place a breathing barrier (if available) over the victim's mouth.
3. Give two rescue breaths (optional)
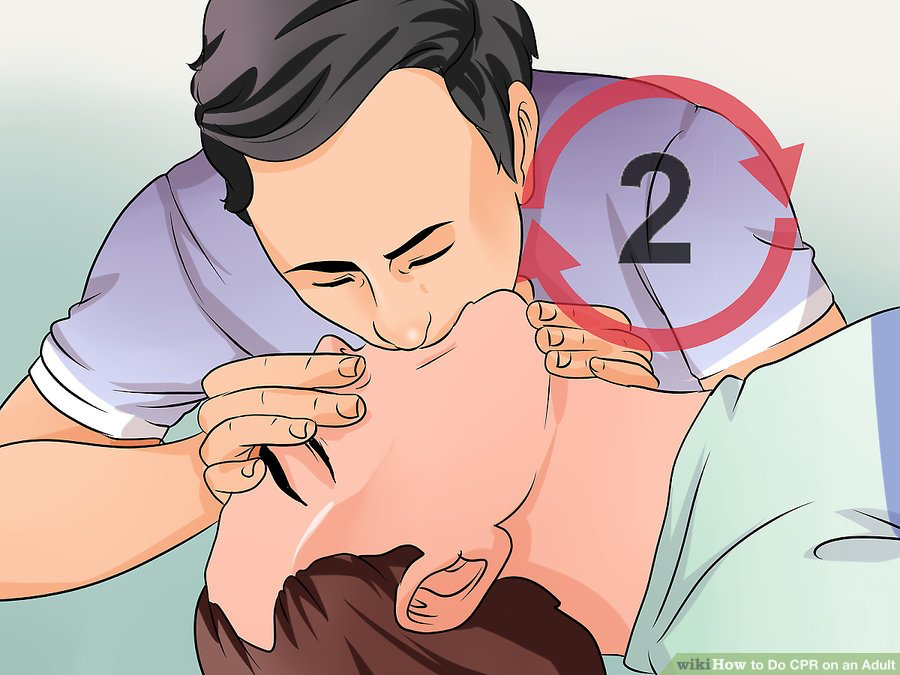
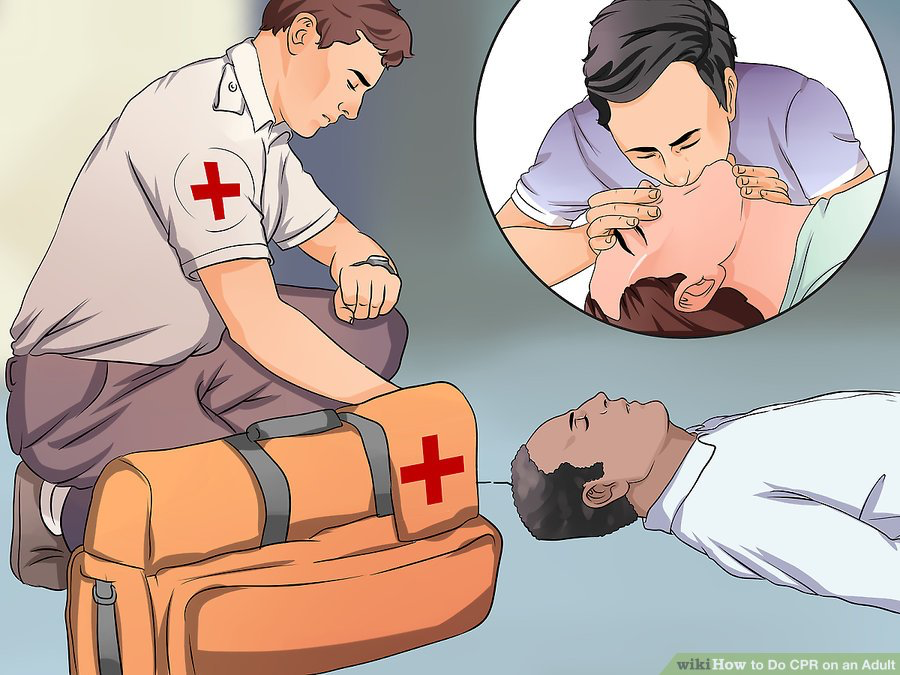
The American Heart Association no longer considers rescue breaths necessary for CPR, as the chest compressions are more important. If you are trained in CPR and totally confident, give two rescue breaths after your 30 chest compressions. If you've never done CPR before, or you're trained but rusty, stick with only chest compressions.
- Keeping the airway open, take the fingers that were on the forehead and pinch the victim's nose closed. Make a seal with your mouth over the victim's mouth and breathe out for about one second. Make sure you breathe slowly, as this will make sure the air goes in the lungs and not the stomach.
- If the breath goes in, you should see the chest slightly rise and also feel it go in. Give a second rescue breath.
- If the breath does not go in, re-position the head and try again. If it does not go in again, the victim may be choking. Do abdominal thrusts (the Heimlich maneuver) to remove the obstruction.
4. Repeat the cycle of 30 chest compressions
If you're also doing rescue breaths, keep doing a cycle of 30 chest compressions, and then 2 rescue breaths; repeat the 30 compressions and 2 more breaths.
- You should do CPR for 2 minutes (5 cycles of compressions to breaths) before spend time checking for signs of life.
5. Continue CPR until someone takes over for you, emergency personnel arrive, you are too exhausted to continue, an automated external defibrillator (AED) is available for immediate use, or signs of life return.
Part 4: Using an AED
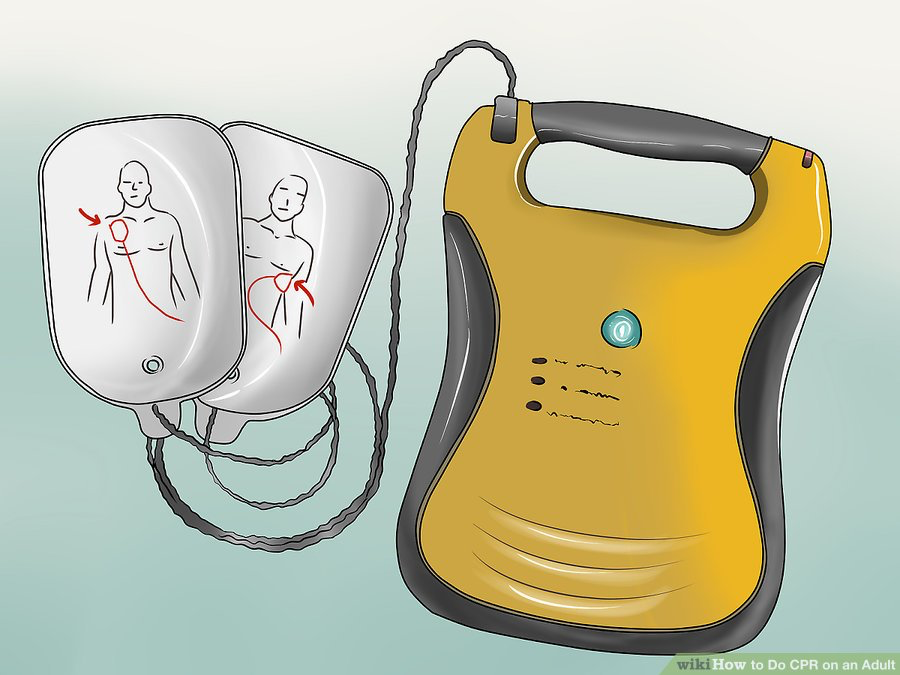
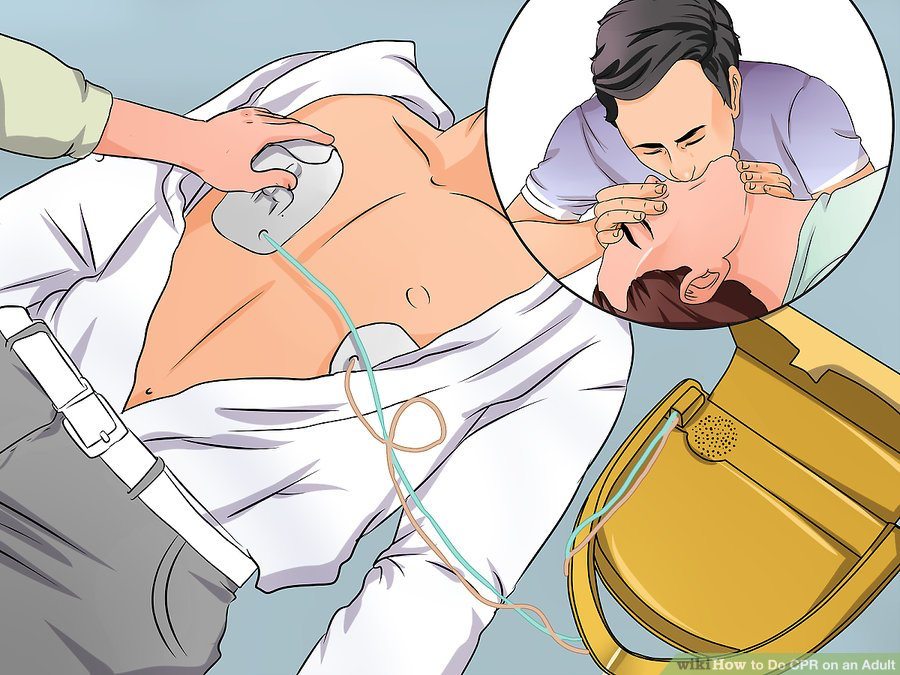
1. Use an AED (automated external defibrillator)
If an AED is available in the immediate area, use it as soon as possible to jump-start the victim's heart.
- Make sure there are no puddles or standing water in the immediate area.
2. Turn on the AED
It should have voice prompts that tell you what to do.
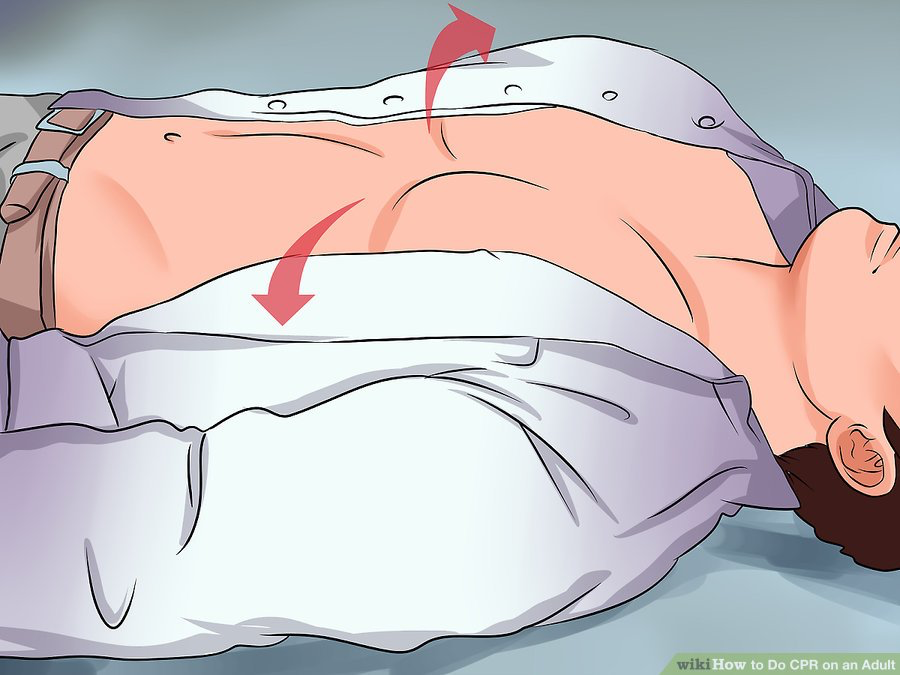
3. Fully expose the victim's chest
Remove any metal necklaces or underwire bras. Check for any body piercings, or evidence that the victim has a pacemaker or implantable cardioverter defibrillator (should be indicated by a medical bracelet) to avoid shocking too close to those spots.
- Make sure the chest is absolutely dry and the victim is not in a puddle. Note that, if the person has a lot of chest hair, you may need to shave it, if possible. Some AED kits come with razors for this purpose.
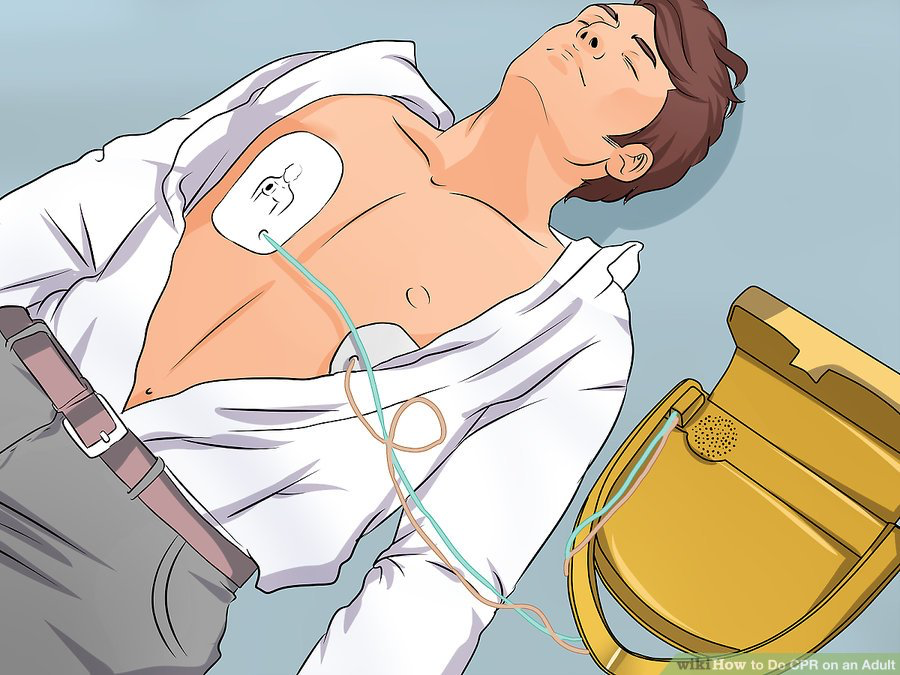
4. Attach the sticky pads with electrodes to the victim's chest
Follow the instructions on the AED for placement. Move the pads at least 1 inch (2.5 cm) away from any metal piercings or implanted devices.
- Make sure no one is touching the person, when you apply the shock.
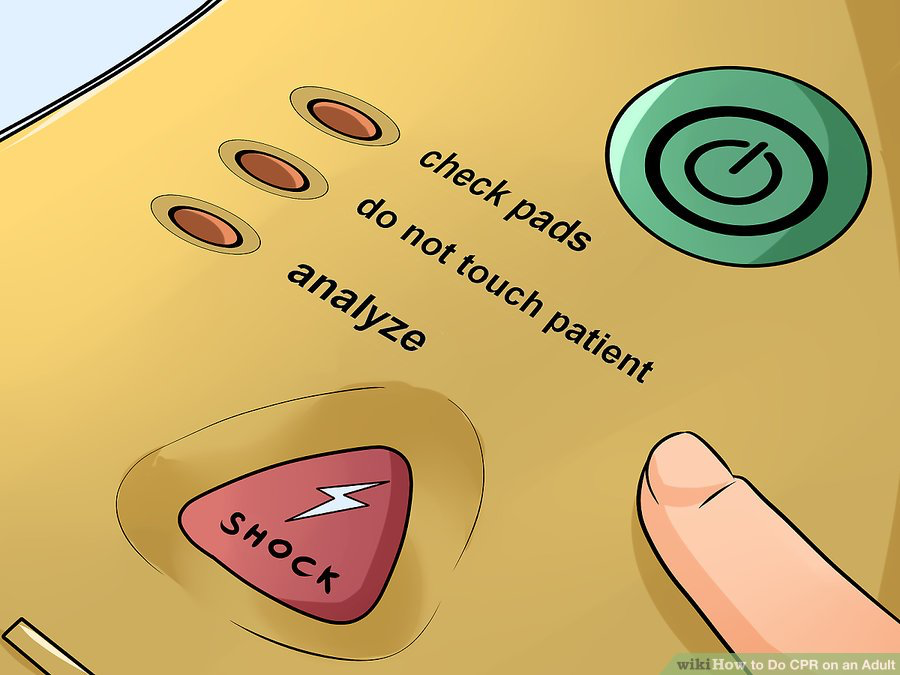
5. Press analyze on the AED machine
If a shock is needed for the patient, the machine will notify you. If you do shock the victim, make sure no one is touching him or her.
6. Do not remove pads from the victim and resume CPR for another 5 cycles before using the AED again
Stick on adhesive electrode pads are intended to be left in place.
Part 5: Putting the Patient in Recovery Position
1. Position the patient ONLY after the victim has been stabilized and is breathing on his/her own.
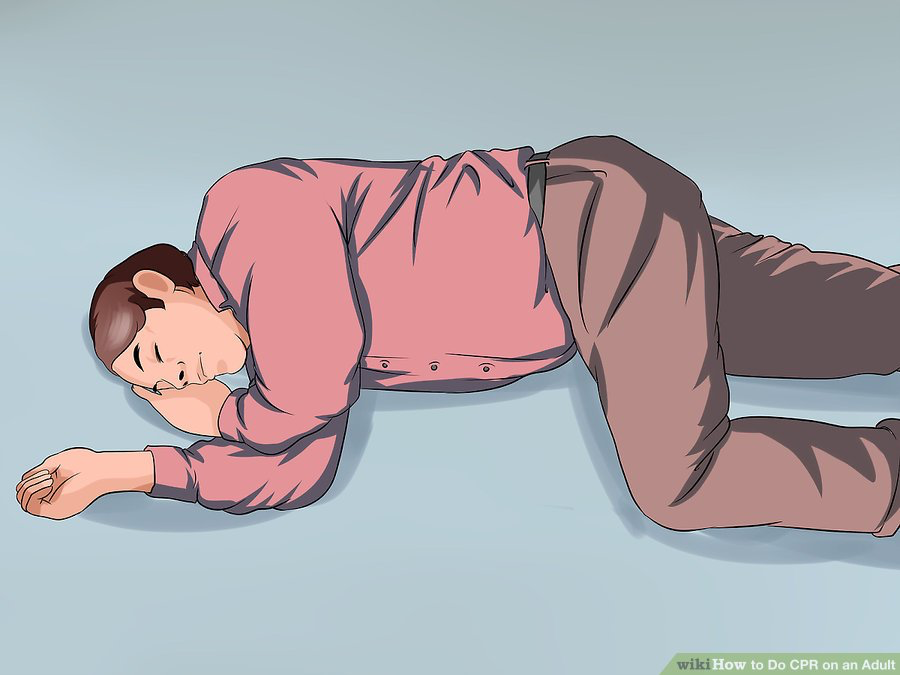
2. Flex and raise one knee joint, push the victim`s hand that's on the opposite side from the raised knee, partially under the hip with the straight leg
Then position the free hand onto the opposite shoulder, and roll the victim onto the side with the straight leg. The raised knee/bent leg is on top and helps stop the body from rolling over onto the abdomen. The arm with the hand tucked under the edge of the hip is kept from sticking out in the way when rolling the patient onto that side.
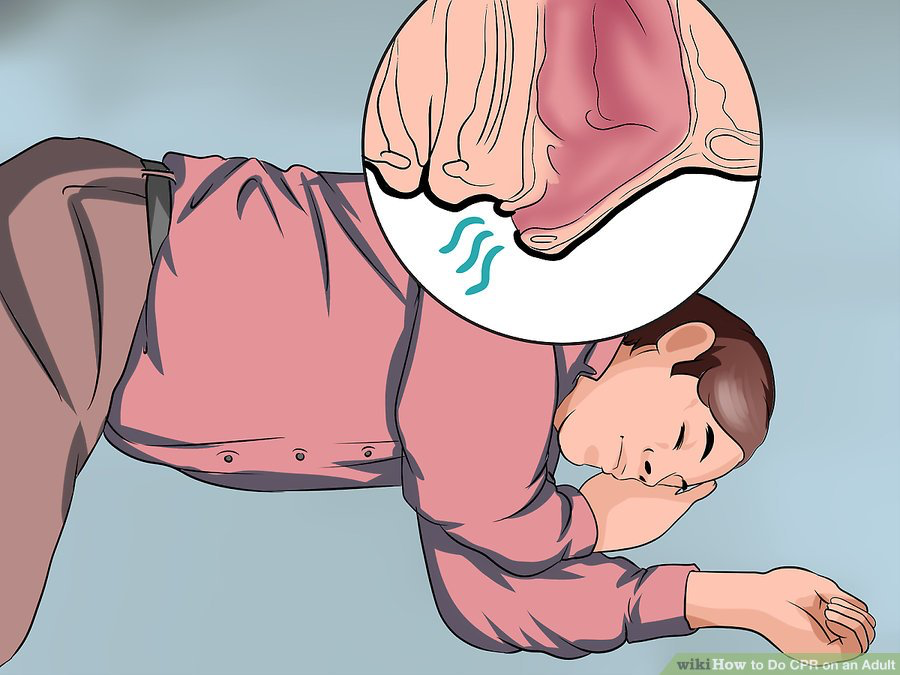
3. Use the recovery position to help the victim to breathe more easily
This position keeps saliva (spit) from accumulating in the back of the mouth or throat, and helps the tongue to hang to the side without it falling/flopping into the back of the mouth and obstructing the airway.
_______________________________________________________________________________________________________________________
Are you a healthcare practitioner who enjoys patient education, interaction and communication?
If so, we invite you to criticise, contribute to or help improve our content. We find that many practicing doctors who regularly communicate with patients develop novel and often highly effective ways to convey complex medical information in a simplified, accurate and compassionate manner.
MedSquirrel is a shared knowledge, collective intelligence digital platform developed to share medical expertise between doctors and patients. We support collaboration, as opposed to competition, between all members of the healthcare profession and are striving towards the provision of peer reviewed, accurate and simplified medical information to patients. Please share your unique communication style, experience and insights with a wider audience of patients, as well as your colleagues, by contributing to our digital platform.
Your contribution will be credited to you and your name, practice and field of interest will be made visible to the world. (Contact us via the orange feed-back button on the right).
