First Aid Explained
Disclaimer:
This website is intended to assist with patient education and should not be used as a diagnostic, treatment or prescription service, forum or platform. Always consult your own healthcare practitioner for a more personalised and detailed opinion
How to Remove a Splinter
We have selected the following expert medical opinion based on its clarity, reliability and accuracy. Credits: Sourced from the website wikiHow. Please refer to your own medical practitioner for a final perspective, assessment or evaluation.
Overview
Splinters are small, but they can still be quite painful. They can also be difficult to remove. This wikiHow will give you a few tips on how to remove a splinter.
Key Points
- Try tweezers: Wash the infected area first, then pull the splinter out using sterilized tweezers.
- Use tape for delicate or fragile splinters: Place the tape over the splinter, then pull it off.
- Try white school glue: Cover the splinter with glue, let it dry, then peel it off.
- Take care of the wound: Squeeze it gently until you see some blood. Clean it off and apply ointment. Cover it up with a bandage.
Method 1: Removing with Tweezers
1. Wash the affected area
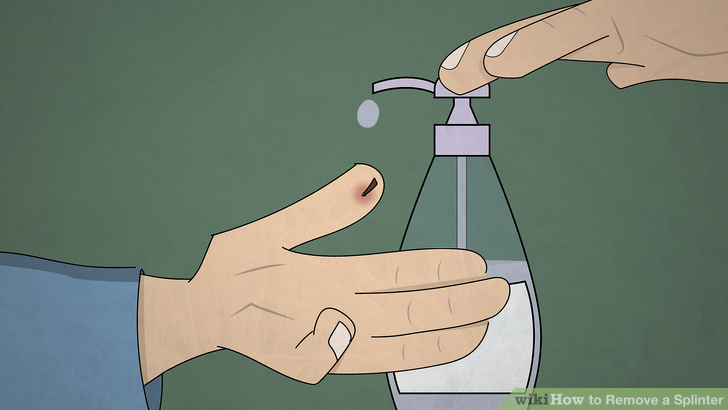
Before you begin removing a splinter, wash your hands and the skin around the splinter with warm water and soap. This can minimize the risk of spreading bacteria that may cause an infection.
- You can wash your hands with a mild soap and some warm water for 20 seconds.
- You can wash the affected area with mild soap and water or use an antibacterial wash.
- Dry your hands and the area around the splinter well before you try to remove it.
2. Sterilize your tweezers with alcohol
Before you use your tweezers, make sure that you disinfect them with rubbing alcohol to reduce your risk of infection or any bacteria that can spread inside the wound. Having bacteria in the wound can cause an infection.
- To sterilize your tweezers with rubbing alcohol, let them sit in a bowl or cup of rubbing alcohol for a few minutes, or use a sterile cotton ball to wipe the tweezers with rubbing alcohol.
- You can get rubbing alcohol at pharmacies and many medical supply stores. Grocery stores and large retailers also sell rubbing alcohol.
3. Use a magnifying glass and good lighting
Consider using a magnifying glass when removing the splinter. This may help you see the splinter more clearly and reduce the risk of injuring your skin further.
- At the least, make sure that you remove the splinter in a well-lit area to help you see it better.
4. Break and lift the skin over the splinter if necessary
If the splinter is covered by a flap of skin, then you can use a sterilized needle to break the skin and lift the flap. Sterilize a needle by soaking or wiping it with rubbing alcohol. Then, use the needle to break and lift the skin flap that rests over the splinter. This will make it easier for you to grab the splinter and remove it.
- If you have to dig deeply to break the skin or see the splinter, consider going to the hospital or your doctor to reduce your risk of injury.
5. Grasp the splinter with tweezers
Once you've exposed the splinter's tip, grasp it near the surface of your skin with your tweezers. Gently pull out the splinter in the direction that it entered your skin.
- If you have to dig deeply with your tweezers to get at the splinter, you may want to see your doctor to remove it.
- If part of the splinter breaks off, you may need to either see a doctor or try re-grasping it with your tweezers.
Method 2: Removing with Tape
1. Get some tape
Fragile splinters, such as those from plants or fiberglass, often respond well to removal with tape. You can use many different types of tape for this procedure including masking tape, duct tape, or electrical tape. You will only need a small piece of tape.
- Make sure that the area around the splinter is clean and dry before you apply the tape.
- Wash and dry your hands before you get started as well.
2. Place a piece of tape over your splinter
Apply the tape to the splinter site and press it firmly to make it stick to the splinter. Make sure that you do not press the splinter deeper into your skin as you do this. Apply pressure out and away from the entry point of the splinter.
3. Pull off the tape
After you are sure that the tape is making contact with the splinter, pull off the tape. Peel away the tape slowly in the same direction that the splinter entered your skin. As you pull on the tape, the splinter should stick to the tape and come out.
4. Check the tape
After you have removed the tape, check it to see if the splinter is stuck to it. You should also check your skin to see if any part of the splinter is still embedded in your skin. If you still have all or part of the splinter, then you can repeat this process or try a different method.
Method 3: Removing with Glue
1. Apply glue to the splinter
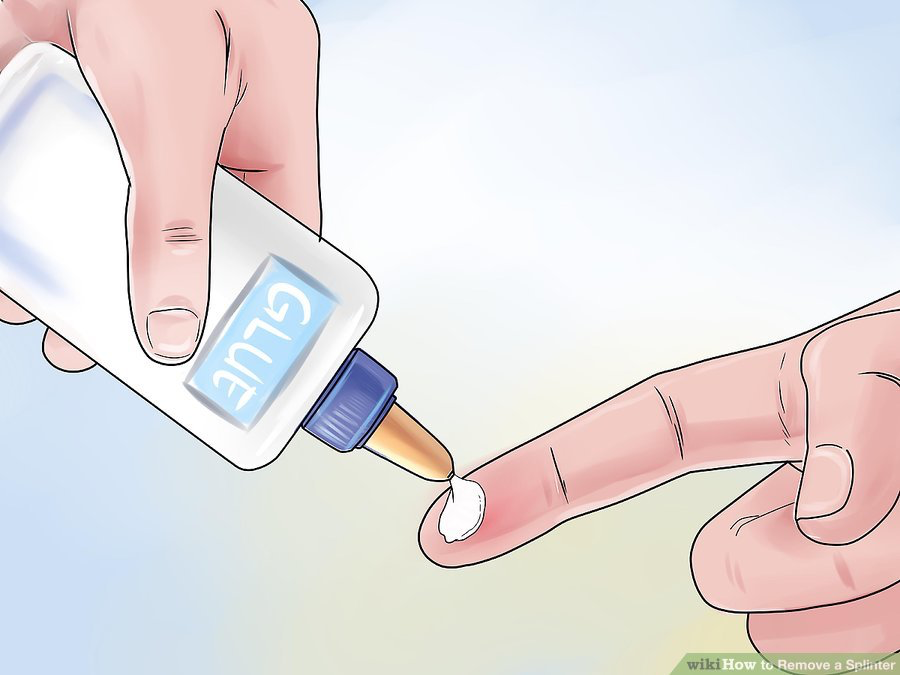
You can also use glue, such as white school glue, to remove a splinter. Just apply a layer of glue to the splinter and surrounding area. Make sure that the glue is thick enough to fully cover the splinter.
- Do not use instant glue: This may not come off of your skin and trap the splinter in your skin instead of removing it.
- You can also try using a wax hair remover or wax strips the same way that you would use glue.
- Wash and dry your hands and the area around your splinter before you begin.
2. Allow the glue dry
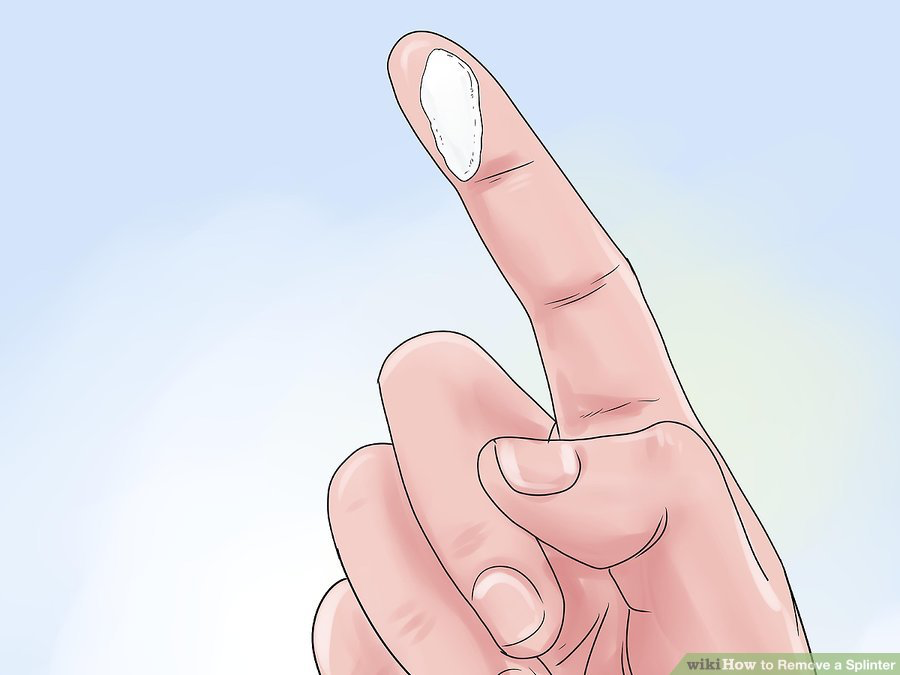
The glue must dry completely before you can remove it or it may not stick to the splinter. Leave the glue on your skin for about 30 minutes to an hour. Check it now and then to see if it is dry yet. When the glue is dry, it should not feel tacky or wet.
3. Peel away the glue
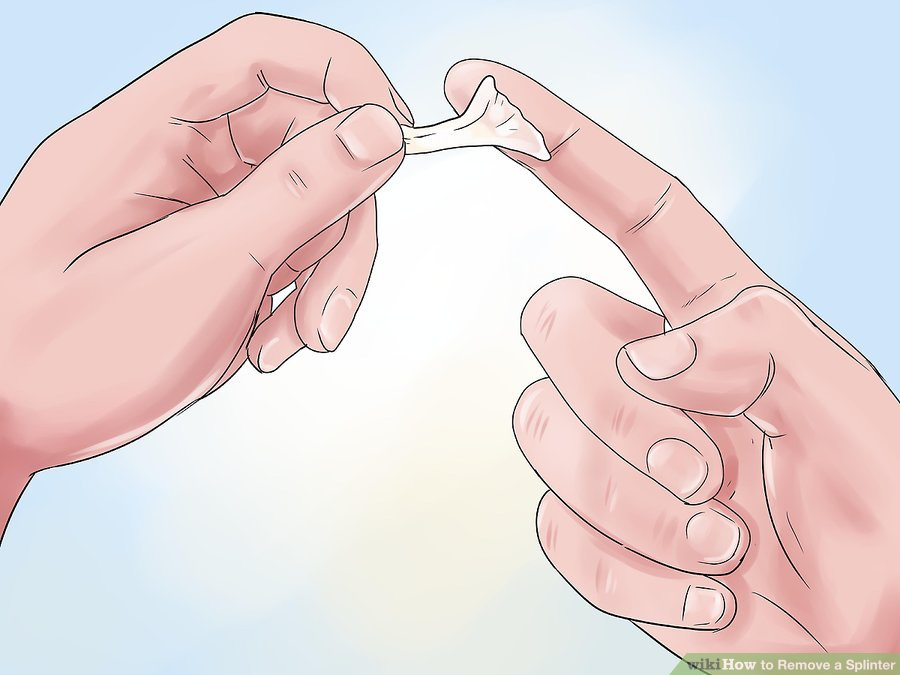
After you are certain that the glue is dry, grasp the edge of the glue and pull it in the direction that the splinter entered your skin. Pull slowly and evenly. As you pull at the glue over your splinter, the splinter should come out.
4. Check for the splinter
After you have peeled away the glue, look at the glue to see if the splinter is stuck in it. You should also check to see if any parts of the splinter are left in your skin. If so, then you may need to repeat the process or try a different splinter removal method.
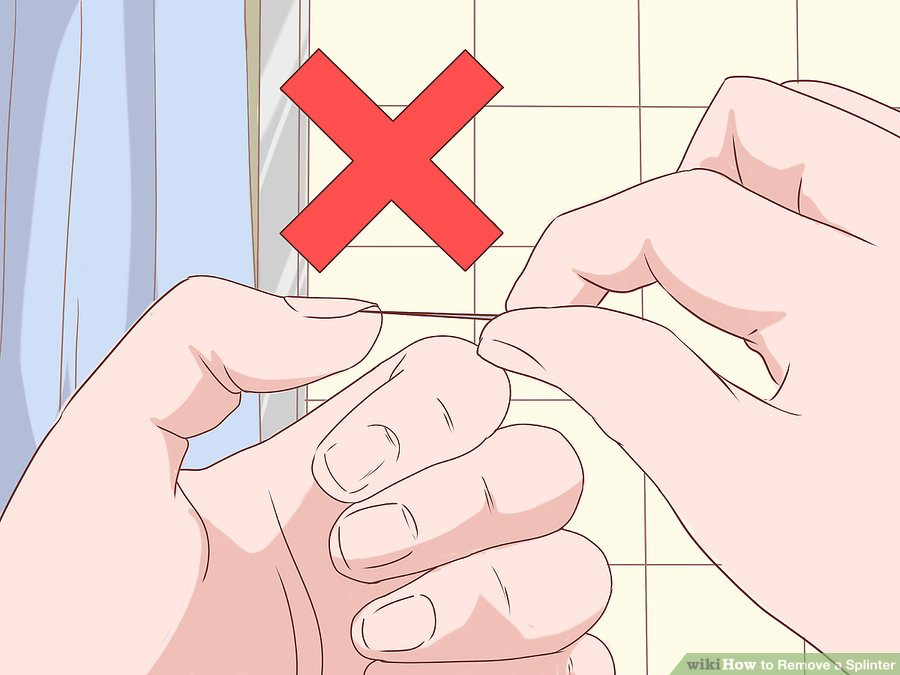
Method 4: Caring for a Splinter Wound
1. Squeeze the wound gently
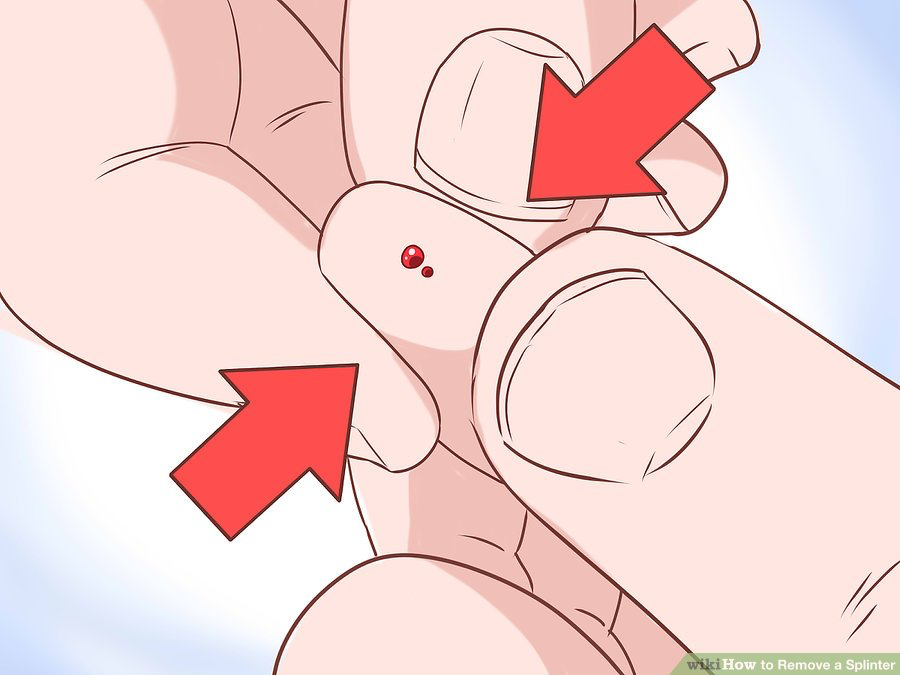
When you've successfully removed the splinter, gently squeeze it until you see some blood. This will help to get some of the germs from the splinter out of your wound.
- Don't squeeze too hard: If the wound doesn't bleed with some gentle pressure, just leave it alone. You can use other methods to clean away germs and bacteria, including an antibacterial ointment.
- Flushing the wound out with warm water for at least a minute will help clean the area.
2. Control any bleeding
If the splinter continues to bleed after squeezing it or is bleeding on its own, then you can control the bleeding by placing pressure on the area. This can help prevent significant blood loss and shock. Bleeding from a minor wound should stop within a few minutes. If you are bleeding excessively, or the bleeding won't stop, then seek medical attention right away.
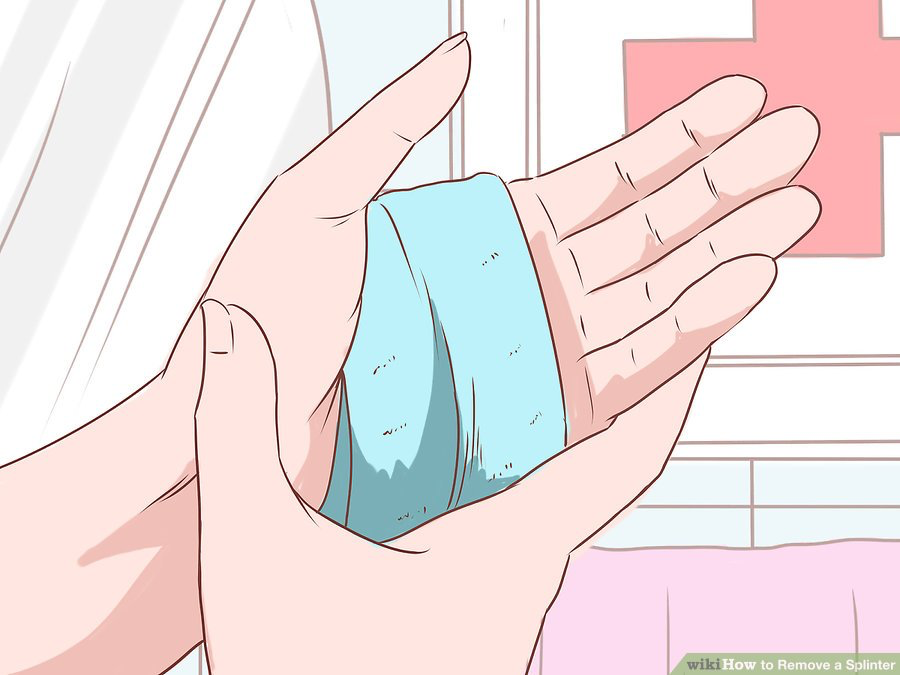
- Try holding a piece of gauze or a cotton ball on the splinter wound until the bleeding stops.
- If the wound has split the skin, bring the edges of it together by pressing them together with two pieces of sterile gauze or clean cloth.
- You can also raise the area above your heart, which can help to control bleeding. For example, if the splinter was in your finger, then raise your hand above your head until the bleeding stops.
3. Disinfect the area
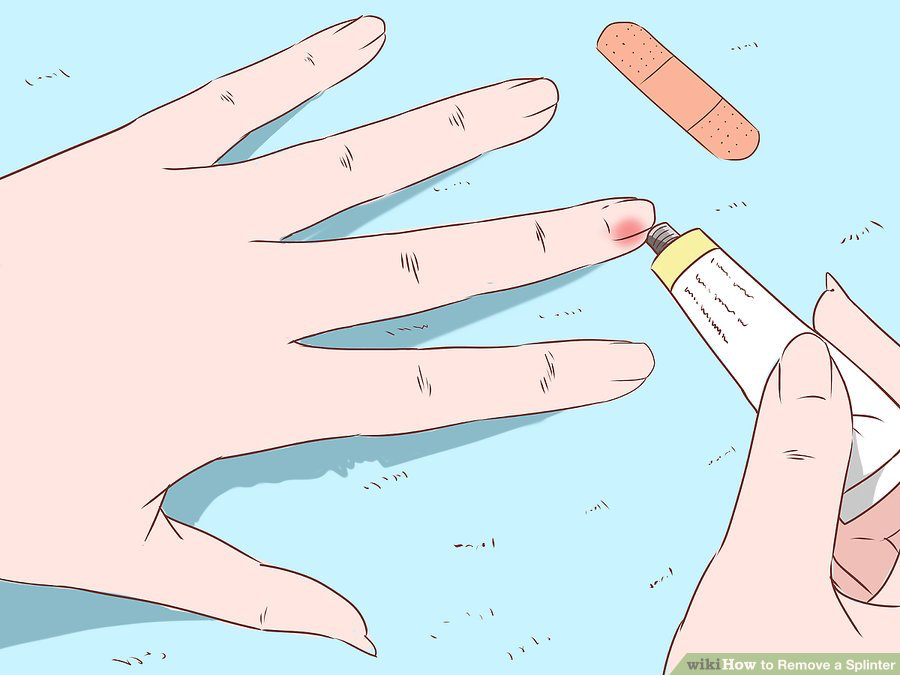
Wash the splinter wound with soap and warm water after you've removed the splinter from your skin. This will help to clean away any lingering bacteria and germs left in the wound. After you are done, you may also want to apply an anti-bacterial ointment.
- Apply an antibacterial ointment to the area up to twice per day: This can minimize the risk of infection to the affected area.
- You can purchase an antibiotic ointment such as bacitracin, neomycin, or polymyxin B. Many brands will put the three into one product and call it 'triple antibiotic ointment.'
4. Bandage the wound
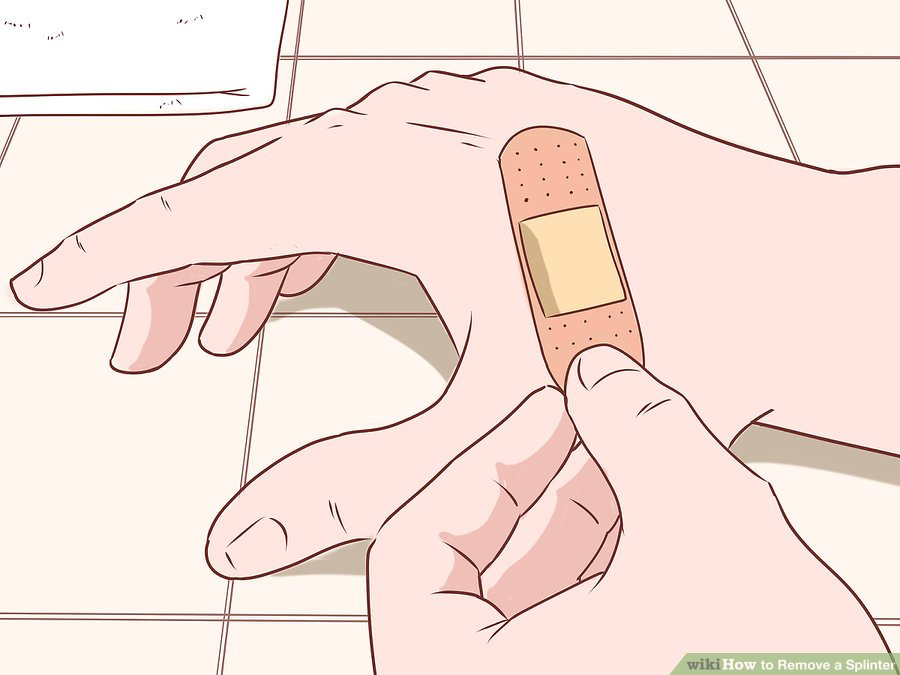
After the bleeding has stopped and the wound is clean, you may want to cover the area to prevent bacteria from getting into the wound. You can secure a piece of gauze with some medical tape or apply a bandage to the injured area. A bandage may also add some pressure to help control bleeding.
Method 5: Getting Medical Help
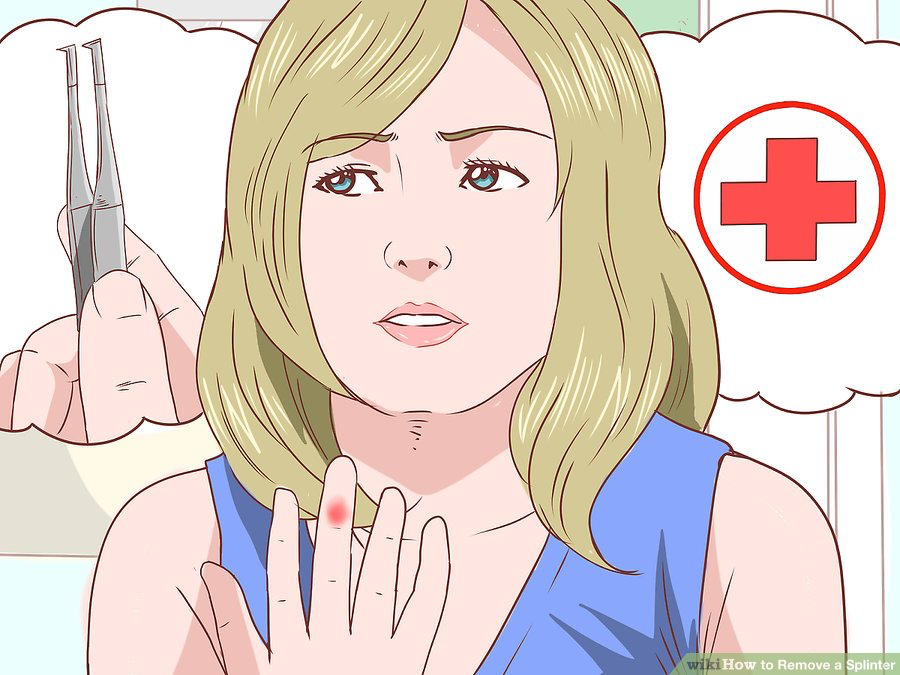
1. Decide if you should remove your splinter at home or see a doctor
Small splinters that are just under the surface of your skin are safe to remove at home. However, there are some situations where it may be necessary for a medical professional to remove your splinter.
- If you are unsure about the nature of the splinter or it is causing you extreme pain, see your doctor as soon as possible.
- See your doctor for a splinter that is more than a quarter-inch (or half-centimeter) deep, as well as a splinter that is penetrating into muscles or by/on nerves.
2. See your doctor or get emergency medical help for a severe splinter
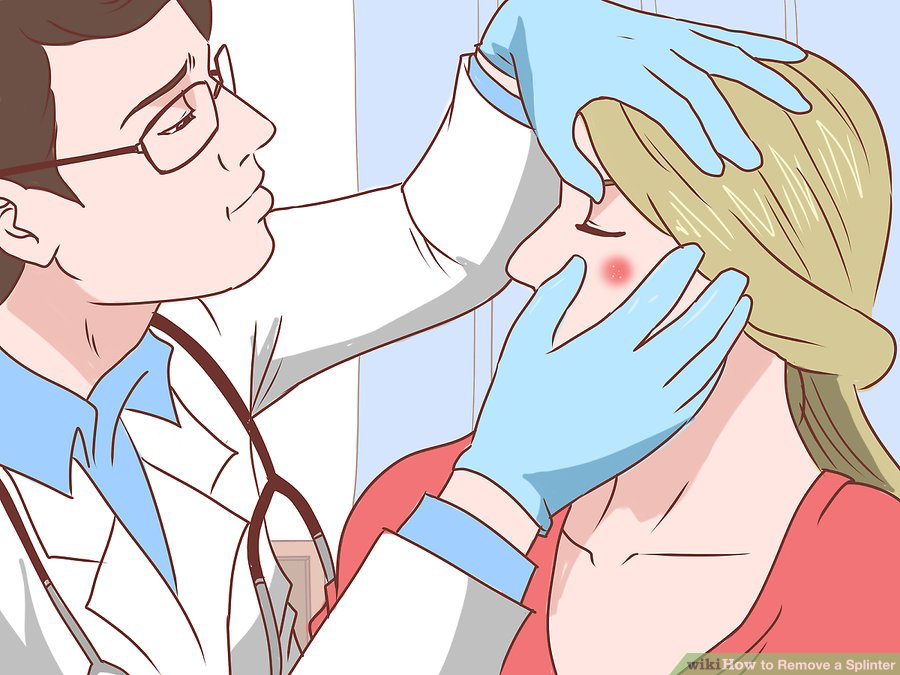
If your splinter is deeply embedded, causing severe pain, won?t come out, or even if you are reluctant to remove it yourself, see a doctor as soon as possible. This can help minimize your risk of serious infection or injury. Also see your doctor if:
- The splinter involves the eye.
- The splinter will not come out easily.
- The wound is deep and dirty.
- Your last tetanus shot was more than five years ago.
3. Watch for signs of infection
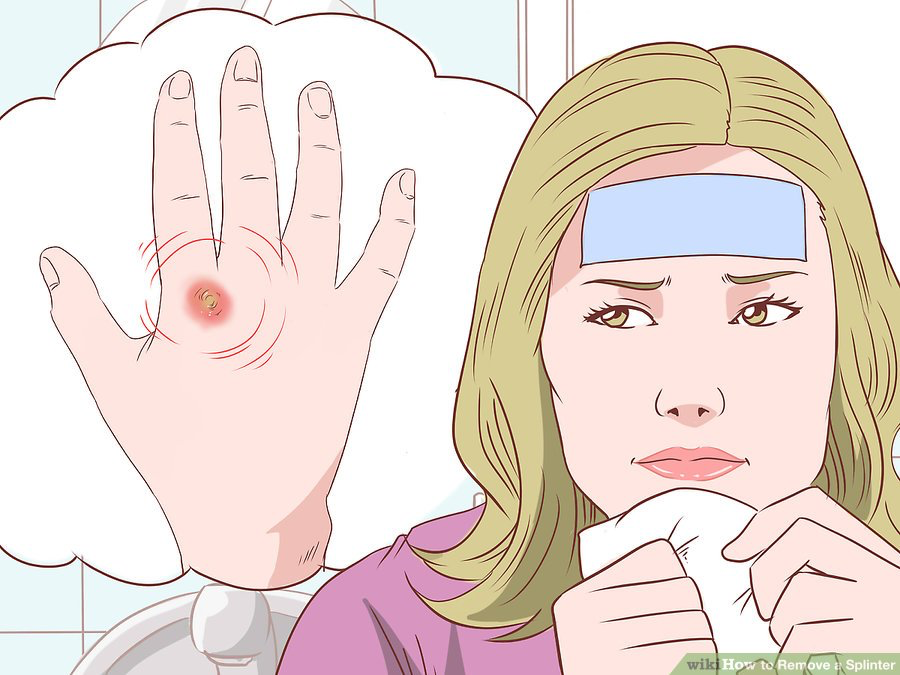
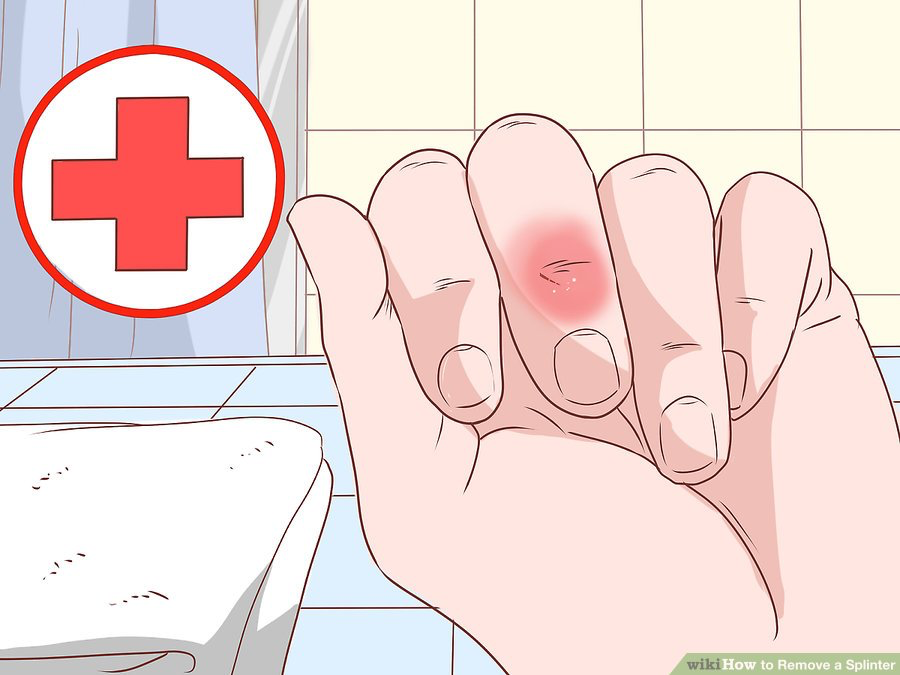
If you start to experience any signs of infection from the site on which you removed the splinter, see your doctor immediately. She can prescribe a course of treatment and remove and lingering bits of the splinter that you were not able to see.
Signs of an infection include:
- Drainage from the site
- Throbbing at the injury site
- Redness or red streaks on the area
- Fever
4. Consider leaving the splinter alone
If your splinter is tiny and not causing any pain, you may just want to leave it in your skin. Your skin may push out the splinter on its own. Your skin may also form a little pimple around the splinter and drain it this way.
- Keep the area clean and watch for signs of infections. If you see any redness, feel heat, or the area becomes painful, see your doctor.
_______________________________________________________________________________________________________________________
Are you a healthcare practitioner who enjoys patient education, interaction and communication?
If so, we invite you to criticise, contribute to or help improve our content. We find that many practicing doctors who regularly communicate with patients develop novel and often highly effective ways to convey complex medical information in a simplified, accurate and compassionate manner.
MedSquirrel is a shared knowledge, collective intelligence digital platform developed to share medical expertise between doctors and patients. We support collaboration, as opposed to competition, between all members of the healthcare profession and are striving towards the provision of peer reviewed, accurate and simplified medical information to patients. Please share your unique communication style, experience and insights with a wider audience of patients, as well as your colleagues, by contributing to our digital platform.
Your contribution will be credited to you and your name, practice and field of interest will be made visible to the world. (Contact us via the orange feed-back button on the right).
